You've just invoiced a client for a large project through QuickBooks, and now you're ready to transfer the received payment from your QuickBooks Checking account to your company's bank account. However, you're not entirely sure how to initiate this transfer. You've linked your bank account to QuickBooks, but the exact steps to move the funds are unclear. You risk delaying access to the cash your business needs if the transfer isn't done correctly. To avoid this scenario, it's essential you understand the transfer process from start to finish. What steps should you take next?
Connect QuickBooks to Bank Account
To initiate the transfer process, you'll need to connect QuickBooks to your bank account by setting up a secure online connection. This connection enables QuickBooks to access your account information and facilitate transfers. You'll be prompted to enter your bank's login credentials and authorize QuickBooks to connect to your account. Don't worry; this connection is secure and encrypted to protect your sensitive information. Once connected, QuickBooks will verify your account details to guarantee accuracy. This step is essential for setting up a reliable transfer process. By connecting your bank account to QuickBooks, you're guaranteeing a seamless and secure way to manage your transactions. Always prioritize security when connecting your financial accounts to any online platform.
Set Up Bank Transfer Account
Once your bank account is connected to QuickBooks, you'll need to set up a bank transfer account, which will serve as the intermediary account that allows you to transfer funds between QuickBooks and your bank. To do this, navigate to the 'Banking' or 'Transactions' menu in QuickBooks and select 'Set Up Bank Transfer Account.' Follow the prompts to create the transfer account, guaranteeing you accurately enter the required information. This account will facilitate the secure exchange of funds between QuickBooks and your bank. By setting up a dedicated transfer account, you'll be able to safely initiate transfers and maintain accurate records of your transactions. Make certain to review and confirm the transfer account details to ensure accuracy.
Verify Bank Account Information
Your bank account information must be verified to confirm accurate and secure transfers between QuickBooks and your bank. To do this, check your bank account details, including the account number and routing number, against a recent bank statement or on your bank's website. This guarantees that your transactions will be processed correctly, minimizing the risk of any potential errors or mistransactions. You should also check the account type and, if applicable, any memo information required by your bank. By verifying this essential information, you confirm you have the correct setup required to complete transfers to bank accounts from QuickBooks Online or QuickBooks desktop app efficiently and securely. Perform a final review for security, accuracy, and correct authorization.
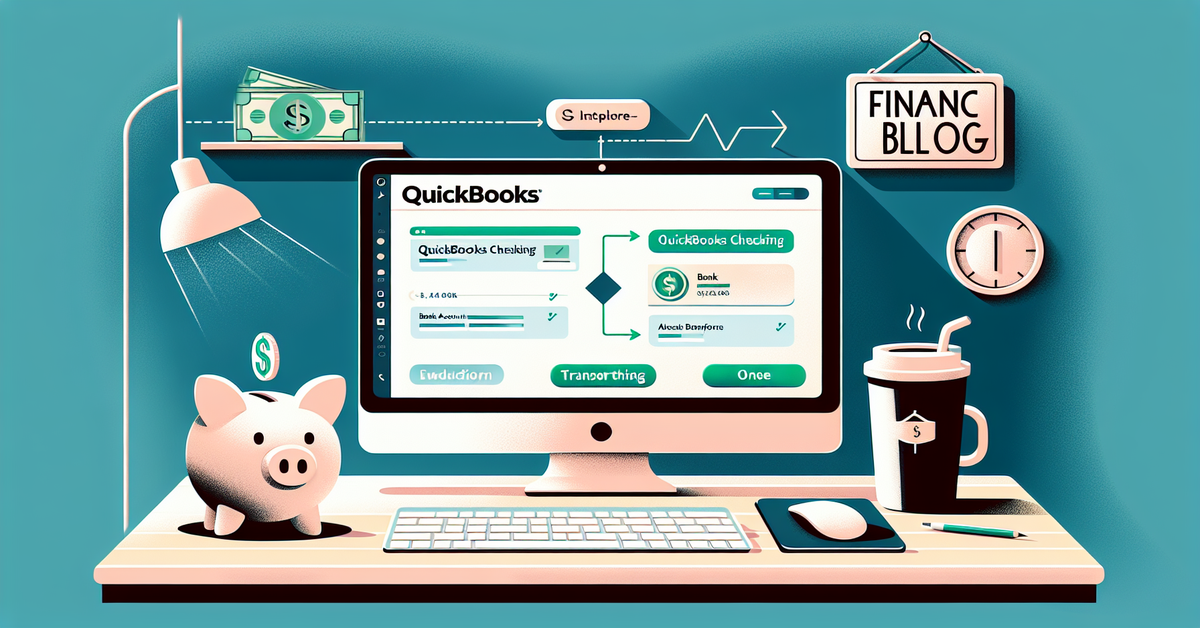
Navigate to QuickBooks Checking
The next step involves steering to the QuickBooks Checking section, where you'll initiate the transfer process. You'll need to navigate through the QuickBooks dashboard to find this section.
To guarantee a smooth and secure transfer, pay attention to the following key aspects:
- *QuickBooks Checking balance*: Verify that you have sufficient funds in your QuickBooks Checking account to cover the transfer amount.
- *Account access*: Make sure you have the necessary permissions to access and manage your QuickBooks Checking account.
Once you've checked these essential items, you can proceed with confidence.
Select Transfer to Bank Option
In the QuickBooks Checking section, you'll need to locate and select the 'Transfer to Bank' option to initiate the transfer process. This option allows you to move funds from your QuickBooks Checking account to your bank account. To do this, follow these steps:
| Option | Description | Action |
|---|---|---|
| Transfer to Bank | Initiate transfer process | Select |
| Bank Account | Choose destination account | Choose |
| Transfer Method | Select transfer method (e.g., direct deposit) | Select |
| Transfer Date | Set date for transfer | Set |
| Confirm Transfer | Review and confirm transfer details | Confirm |
Enter Transfer Amount Details
To complete the transfer process, you'll need to specify the amount you want to transfer from your QuickBooks Checking account to your bank account. This step is essential to guarantee accuracy and prevent errors. When entering the transfer amount details, keep the following points in mind:
- *Verify available funds*: Double-check that your QuickBooks Checking account has sufficient funds to cover the transfer amount.
- *Enter the correct amount*: Carefully type the transfer amount, and make sure it matches your intended transfer.
Enter the transfer amount accurately, as this information will be used to complete the transaction.
Confirm Bank Transfer Details
Before finalizing the transfer, confirm that your bank transfer details, including the recipient bank account and transfer amount, are accurate and complete. Double-check the recipient's bank account number, routing number, and account type to guarantee a successful transfer. Verify that the transfer amount matches your intended amount. Also, confirm that the transfer is going to the correct bank account, as incorrect transfers may be difficult to reverse. You'll also want to ascertain that you have sufficient funds in your QuickBooks checking account to cover the transfer. By confirming these details, you'll help prevent errors and ensure a smooth, secure transfer. Take a moment to review this information carefully to make sure everything is in order.
Review Transfer Processing Time
Reviewing the transfer processing time helps you understand when the funds will be available in the recipient's bank account. This is essential for managing your finances effectively and avoiding any potential overdrafts or late payments. You can review the transfer processing time in QuickBooks to plan your financial activities accordingly.
- *Processing times may vary depending on the recipient's bank and the type of transfer*
- *Standard transfers typically take 1-3 business days to process*
Verify Transfer Completion Status
Typically, you'll need to verify the transfer completion status in QuickBooks to confirm that the funds have been successfully transferred to the recipient's bank account. You can do this by logging into your QuickBooks account and directing yourself to the 'Transfers' or 'Transactions' section. Look for the specific transfer you initiated and check its status. If the transfer is complete, you'll see a confirmation message indicating that the funds have been successfully deposited into the recipient's bank account. If the transfer is still pending, you can check the estimated completion time or contact QuickBooks support for assistance. Verifying the transfer completion status guarantees that the funds have been transferred safely and securely.